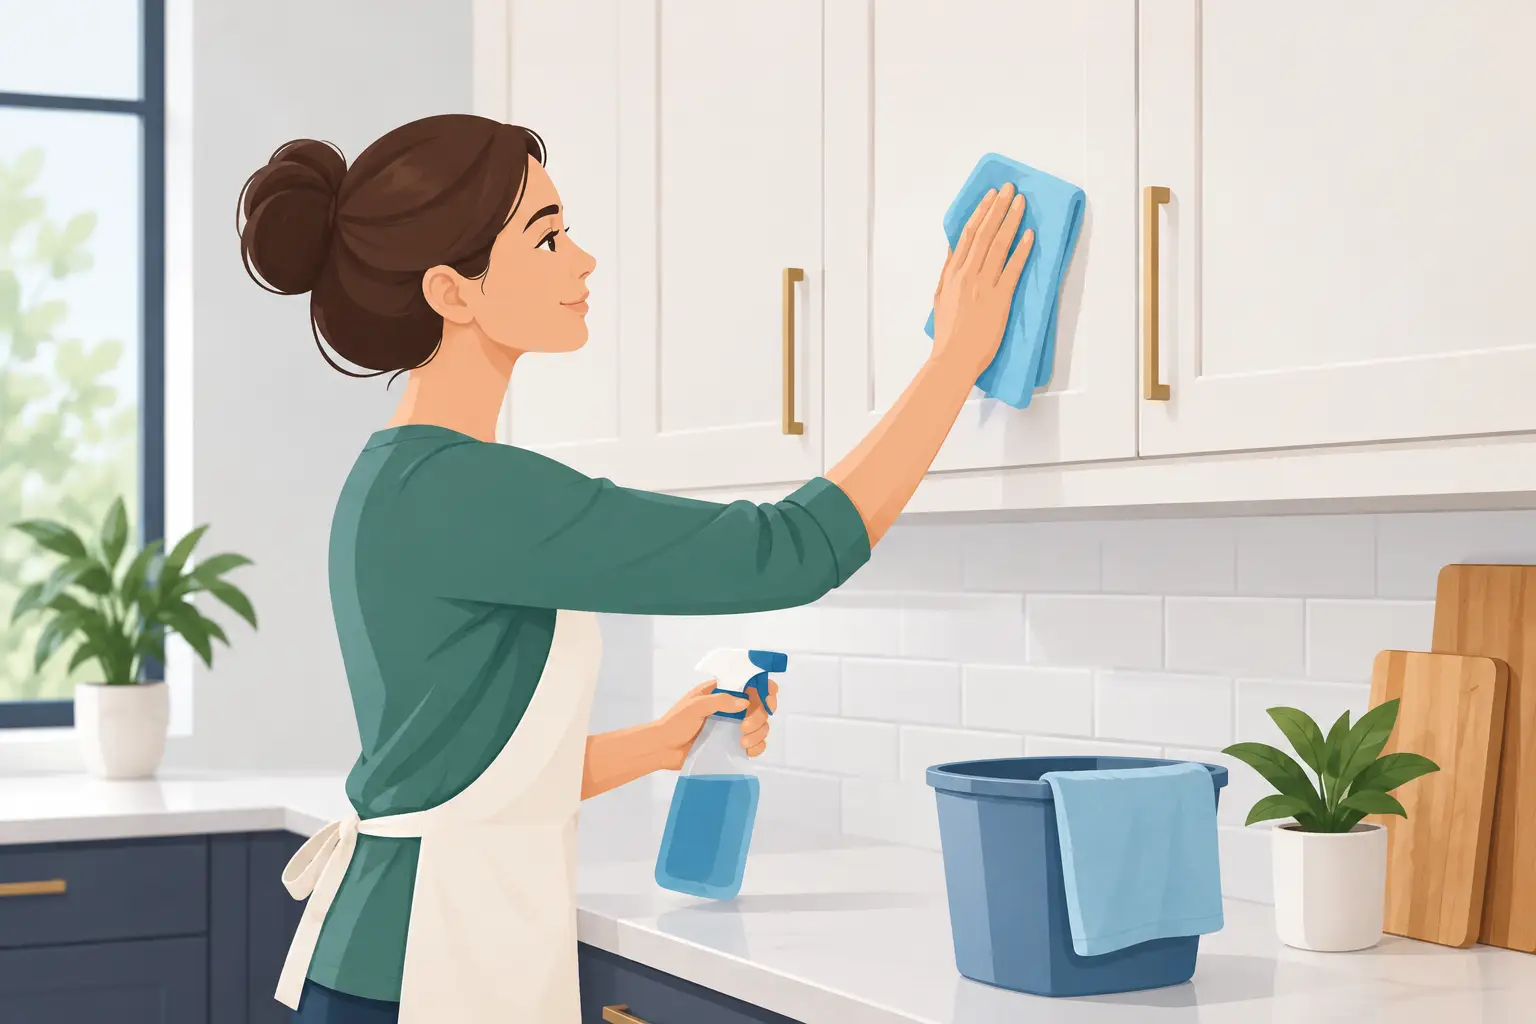
Grease does not stay on the stove. It settles on cabinet doors, gathers around handles, and slowly turns a bright kitchen into one that feels sticky and dull. Cleaning kitchen cabinets regularly is one of the simplest ways to keep the room clean and fresh without waiting for a full kitchen deep clean.
The right method matters. A strong product may cut through grime quickly, but it can also leave wood cloudy, strip paint, or damage laminate edges. With a few basic supplies and a careful approach, most cabinet surfaces can be cleaned safely at home.
Start With the Right Supplies
For routine cabinet cleaning, you do not need a cupboard full of specialty products. Warm water, a small amount of dish soap, soft microfiber cloths, and a dry towel will handle most everyday grease and fingerprints.
Keep the cloth damp rather than soaking wet. Excess water can seep into joints, hinges, unfinished edges, and the space around handles. This is especially important for wood, painted cabinets, and older cabinetry where the finish may already be worn.
For heavier buildup, have a soft-bristle brush or an old toothbrush ready for grooves, hardware, and decorative details. A mild degreaser can help, but always check the product label and test it first in a hidden area inside a cabinet door.
Avoid steel wool, scouring pads, abrasive powders, and rough sponges. They can leave fine scratches that hold more dirt over time. Strong bleach, ammonia, and undiluted vinegar are also poor choices for many finishes. They may seem effective at first, but the trade-off can be discoloration or a damaged protective coating.
How to Clean Kitchen Cabinets Step by Step
Begin by removing loose crumbs and dust. Wipe the cabinet fronts, top edges, and handles with a dry microfiber cloth. Do not skip the top of upper cabinets if you can reach it safely. This area often collects a mix of dust and airborne cooking grease that becomes difficult to remove when ignored.
Next, mix warm water with a few drops of dish soap. Dip a microfiber cloth into the solution and wring it out thoroughly. Wipe one small area at a time, following the direction of the wood grain if your cabinets have a natural wood finish.
Use gentle pressure around handles, knobs, and the cabinet doors nearest the range. These are usually the dirtiest spots. If grime remains in corners or along raised panels, use a soft brush lightly dampened with the same solution. Work carefully rather than scrubbing hard.
After cleaning each section, wipe it with a second cloth dampened with plain water. This removes soap residue, which can make surfaces look streaky or attract fresh dust. Finish immediately with a dry towel. The drying step is not optional, particularly on wood doors and cabinet frames.
For a kitchen with extensive grease buildup, cleaning in sections prevents the solution from drying on the surface. Start with upper cabinets, then move to lower cabinets, drawers, and finally the toe-kick area near the floor.
Treat Sticky Grease Without Overdoing It
Sticky grease needs more than a quick wipe, but it does not always need an aggressive cleaner. Apply a cabinet-safe degreaser to a cloth, not directly onto the door. Let it sit on the greasy spot briefly, then wipe gently and rinse with a clean damp cloth.
If you prefer a simple home method, a paste of baking soda and water can help on durable laminate or sealed painted surfaces. Test it first, use it sparingly, and do not scrub. Baking soda is mildly abrasive, so it is not the best option for delicate finishes, high-gloss cabinets, or unsealed wood.
When grease has hardened around handles or hinges, remove the hardware only if you are comfortable reinstalling it correctly. Otherwise, clean around it with a soft brush. A small amount of cleaning solution goes a long way.
Match the Method to Your Cabinet Finish
Cabinets are not all made to handle the same products. The safest cleaning routine depends on the surface in front of you.
Painted Cabinets
Painted cabinets should be cleaned with mild soap and water, followed by a dry cloth. Avoid harsh degreasers unless the manufacturer confirms they are safe for painted finishes. Repeated exposure to strong chemicals can soften paint, create dull patches, or cause peeling near the edges.
Pay attention to high-touch areas around handles and drawer pulls. Oils from hands can leave marks that look like stains but often come off with gentle, regular cleaning.
Wood Cabinets
Wood needs the least moisture. Use a well-wrung cloth, wipe along the grain, and dry the surface right away. Never leave water sitting in grooves, joints, or around the bottom edge of doors.
If wood cabinets look dry after cleaning, a finish-specific wood product may help, but only after checking the cabinet maker’s care instructions. Oils and polishes can create a temporary shine while leaving a residue that attracts dust and grease.
Laminate and Thermofoil Cabinets
Laminate and thermofoil are generally easier to clean because their surfaces resist moisture better than bare or worn wood. Mild dish soap is still the first choice. Do not use high heat, abrasive pads, or strong solvents, especially near edges where the surface layer can lift.
For glossy cabinets, dry with a clean microfiber cloth to prevent water spots and streaks. Using paper towels can leave lint behind and may create fine scratches over time.
Do Not Forget the Cabinet Interiors
Cabinet interiors need less frequent cleaning, but they deserve attention when you are organizing groceries, cleaning after a spill, or preparing for a move. Empty one cabinet at a time so the task stays manageable. Vacuum or wipe out crumbs first, then clean the shelf with a lightly damp cloth and dry it completely before putting items back.
Check under the sink for leaks, water marks, or mold-like growth. Cleaning alone will not solve an active plumbing leak. The source of moisture needs to be fixed first, then the area can be cleaned and dried properly. If mold is widespread, recurring, or affecting damaged materials, professional assessment is the safer route.
Shelf liners can make future cleanup easier, especially in cabinets that store oils, spices, or cleaning products. Replace liners when they become sticky, torn, or damp underneath.
How Often Should You Clean Cabinets?
Light cleaning every week or two keeps grease from building into a harder job. Wipe handles, cabinet fronts near the stove, and any visible splatters as part of your normal kitchen routine. A more detailed cabinet clean every two to three months works well for many homes.
The right schedule depends on how the kitchen is used. A household that cooks daily, fries food often, or has young children may need more frequent attention. Rental properties and homes being prepared for sale or move-out usually benefit from a full detail clean, including cabinet interiors, tops, handles, and surrounding walls.
Commercial kitchens and office break rooms also need a closer schedule because many people use the same cabinets. Visible grime affects more than appearance. It can make an otherwise clean workplace feel neglected.
When Cabinet Cleaning Calls for Professional Help
Some cabinet cleaning jobs are bigger than a Saturday afternoon. Heavy grease layers, nicotine residue, move-out buildup, and cabinets affected by smoke, mold, or long-term neglect may need commercial-grade equipment and a trained cleaning crew.
Professional cleaning is also a practical choice when time is limited. During a move, kitchen cabinets are only one item on a long checklist that may include appliances, bathrooms, windows, floors, and carpets. Deepclean Services can handle demanding kitchen cleaning as part of a one-time or move-related service, helping leave the space visibly clean without adding more work to your schedule.
A clean cabinet door should feel smooth, look even in natural light, and have no greasy residue around the handles. Keep up with small wipes after cooking, address spills before they harden, and save the heavy work for when it truly needs doing. Your kitchen will feel fresher every time you open a door.