
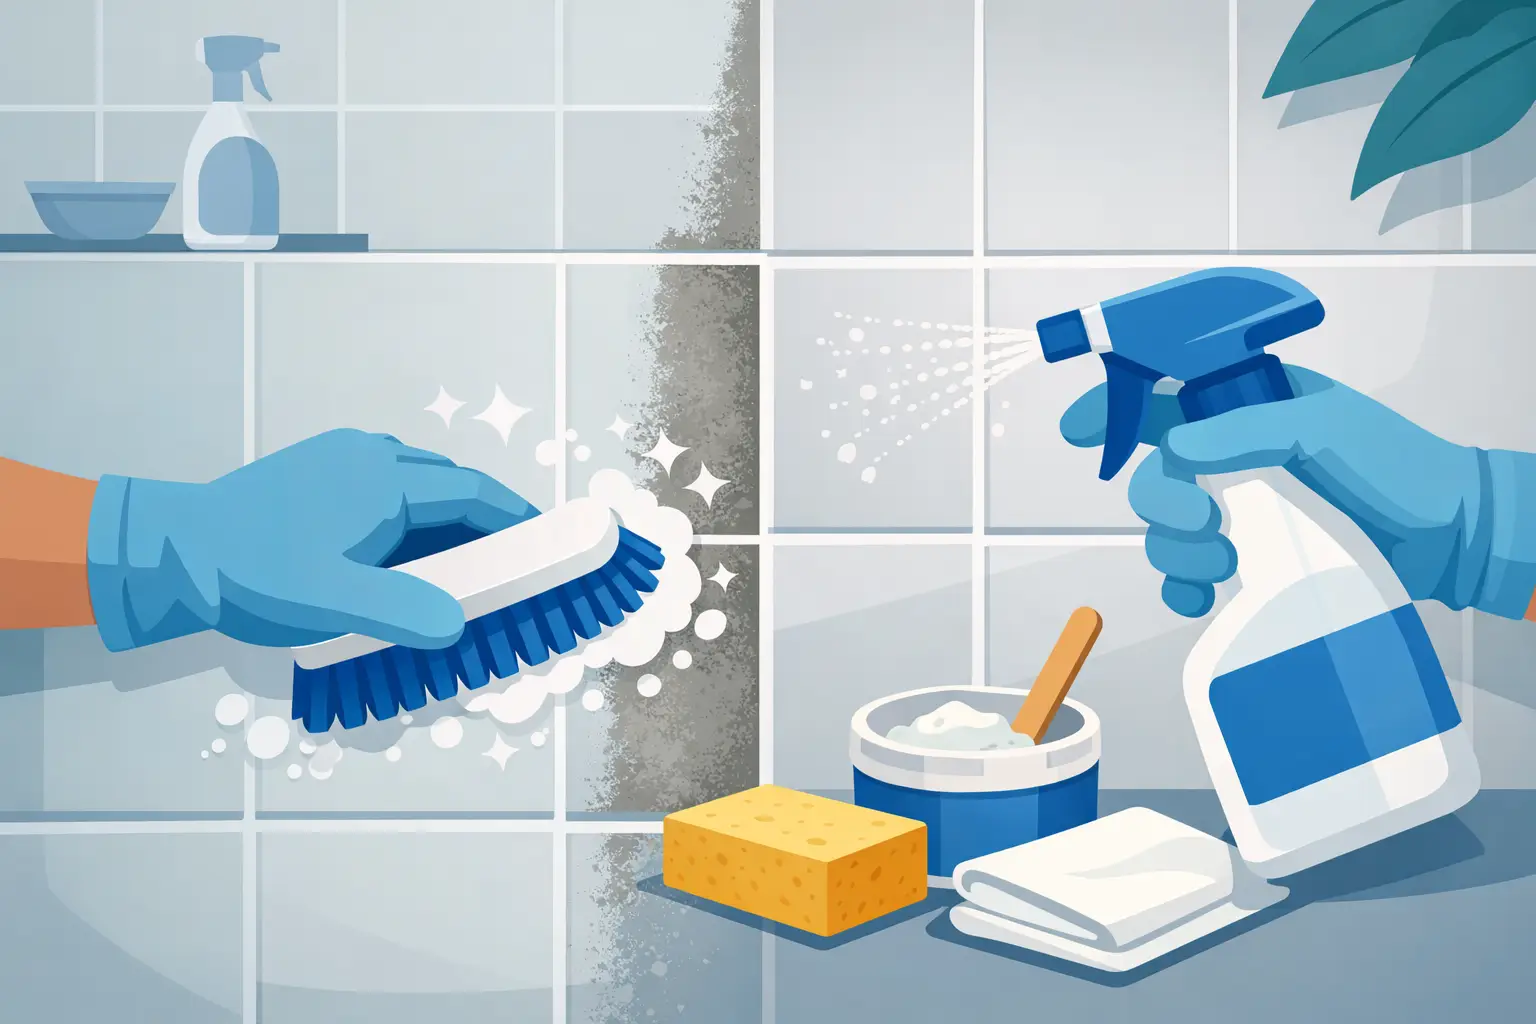
Grout rarely looks dirty all at once. It slowly shifts from its original color to a dull gray, yellow, or brown, especially around shower floors, kitchen backsplashes, and entryway tile. Knowing how to clean tile grout properly helps you restore that clean, fresh look without scratching tile, weakening grout, or filling the room with harsh chemical fumes.
The best method depends on what is causing the discoloration. Everyday surface dirt needs a different approach than soap scum, grease, hard-water minerals, mildew, or mold. Start with the mildest effective option, give it enough contact time, and avoid treating grout like it is an indestructible surface.
Start by identifying what is on the grout
Grout is porous, which means it can hold onto moisture and residue more easily than glazed ceramic or porcelain tile. In bathrooms, dark marks are often a mix of soap scum, body oils, moisture, and mildew. In kitchens, grease and food splatters are common. Floor grout collects tracked-in dirt, cleaning-product residue, and stains from spills.
A quick test can save time. Wipe a small area with warm water and a microfiber cloth. If the mark lifts easily, regular cleaning may be all you need. If it feels waxy or slick, you are likely dealing with soap scum or grease. If it remains dark after cleaning and appears in damp areas, mildew or mold may be involved.
Before using any product, check the type of tile. Natural stone such as marble, travertine, limestone, or slate needs special care. Acidic products, including vinegar and many limescale removers, can etch the stone even if the grout itself seems unaffected.
How to clean tile grout with a simple paste
For most ceramic and porcelain tile, a baking soda paste is a dependable first choice. Mix baking soda with a small amount of water until it is thick enough to stay on the grout lines. Spread it with an old toothbrush or a grout brush, then leave it for about 10 to 15 minutes.
Scrub in short, controlled strokes. A stiff nylon brush works well because it reaches into the grout texture without being overly aggressive. Avoid wire brushes, metal scouring pads, and sharp tools. They can scratch tile glaze, break down the grout surface, and create small spaces where dirt can settle faster.
Rinse the area with clean water and wipe away the loosened residue with a microfiber cloth. On floor tile, use a damp mop after rinsing so the dirty water is not left to dry back into the grout lines.
Baking soda is gentle and useful for regular upkeep, but it may not fully remove years of discoloration. If the grout is heavily stained, repeat the process once before moving to a stronger cleaner.
Add dish soap for greasy kitchen grout
Kitchen backsplash and floor grout often need a degreasing step. Mix a few drops of grease-cutting dish soap into warm water, apply it to the grout, and allow it to sit for five minutes. Then scrub with a nylon brush and rinse thoroughly.
This method is particularly helpful near cooktops, behind countertops, and around trash areas. Skipping the degreasing step can make a whitening product less effective because it has to work through a layer of oily residue first.
Treat bathroom buildup without overusing bleach
Bleach can brighten white grout and help with mildew stains, but it is not always the best first answer. It can produce strong fumes, discolor colored grout, and damage nearby fabrics or finishes. It should never be mixed with vinegar, ammonia, or other cleaning products. Mixing cleaners can create dangerous gases.
For a small area of white grout with visible mildew, use a bathroom cleaner labeled for grout or diluted bleach according to the product instructions. Apply it carefully, provide good ventilation, wear gloves, and rinse completely. Keep the cleaner off towels, bath mats, painted surfaces, and natural stone.
If the discoloration quickly returns, the issue may be ongoing moisture rather than a cleaning failure. Check whether the bathroom fan is working, open a window when possible, squeegee shower walls after use, and repair drips around fixtures. Cleaning removes the visible problem, but better drying habits help stop it from coming back.
When dark grout may be mold
Small surface spots can often be cleaned safely, but widespread mold, persistent musty odors, or stains that return from behind caulk may require more than scrubbing. Mold can develop in failing grout, cracked caulk, poorly ventilated bathrooms, or areas with a hidden leak.
Do not keep applying stronger chemicals to a recurring issue. Address the moisture source first. For extensive mold growth or contamination in hard-to-reach areas, professional mold removal is the safer choice.
Use the right tools and avoid common mistakes
Good grout cleaning is less about force and more about using the right combination of cleaner, dwell time, and brush. Gather a nylon grout brush, microfiber cloths, a bucket of clean water, gloves, and a mop or towels for drying the area afterward.
Avoid these common shortcuts:
- Do not use steel wool, wire brushes, or blades to scrape grout.
- Do not mix household cleaning products, even if each product works well on its own.
- Do not let strong cleaners dry on tile or grout.
- Do not use vinegar or acidic cleaners on natural stone.
- Do not flood floors with water, especially near baseboards, cabinets, or wood transitions.
Another mistake is scrubbing only the darkest lines. When you clean one section intensely and leave the rest untouched, the tile can look uneven. Work in small sections, but clean the entire area so the finish looks consistent.
Rinse and dry thoroughly
Rinsing is not an optional final step. Any cleaner left behind can attract dirt, leave a film, or irritate skin in shower areas. Use fresh water rather than simply spreading the same dirty water across the tile.
Drying matters just as much. Wipe wall tile with a clean microfiber cloth. For floors, use a dry mop or towels after the final rinse. This is especially useful in bathrooms, where lingering moisture can encourage mildew and make clean grout look dull again.
Seal grout after deep cleaning
Once grout is clean and completely dry, a penetrating grout sealer can make routine maintenance easier. Sealer helps reduce the speed at which water, grease, and spills soak into porous grout. It does not make grout stain-proof, but it gives you more time to wipe up messes before they set.
Make sure the grout is fully dry before sealing. Depending on the room and humidity, that may take 24 to 48 hours after a deep clean. Applying sealer over damp grout can trap moisture and reduce how well the product performs.
High-use shower floors, kitchen backsplashes, and entryways may need resealing more often than low-traffic wall tile. Follow the sealer instructions and test a small, hidden section first, especially if you have colored grout or textured tile.
Keep grout clean with small weekly habits
A few minutes of maintenance prevents the long scrubbing session most people want to avoid. Wipe kitchen splatters as they happen. Squeegee or towel-dry shower tile after bathing. Vacuum or sweep tile floors before mopping so grit does not get pushed into grout lines.
For weekly cleaning, use a pH-neutral tile cleaner or a mild dish-soap solution, then rinse lightly and dry the surface. If you notice a small stain, treat it early with baking soda paste rather than waiting until it becomes embedded.
When grout has years of buildup, severe discoloration, or stains across a large floor, professional deep cleaning can be a practical way to reset the space. Commercial-grade equipment and trained cleaning crews can remove embedded dirt while protecting the tile and surrounding finishes.
Clean grout changes the whole feel of a kitchen, bathroom, or entryway. Give it the same regular attention as the tile itself, and the room will stay brighter, healthier, and easier to maintain.



Pingback: How to Remove Bathroom Mould and Stop It Returning – Deepclean Services