
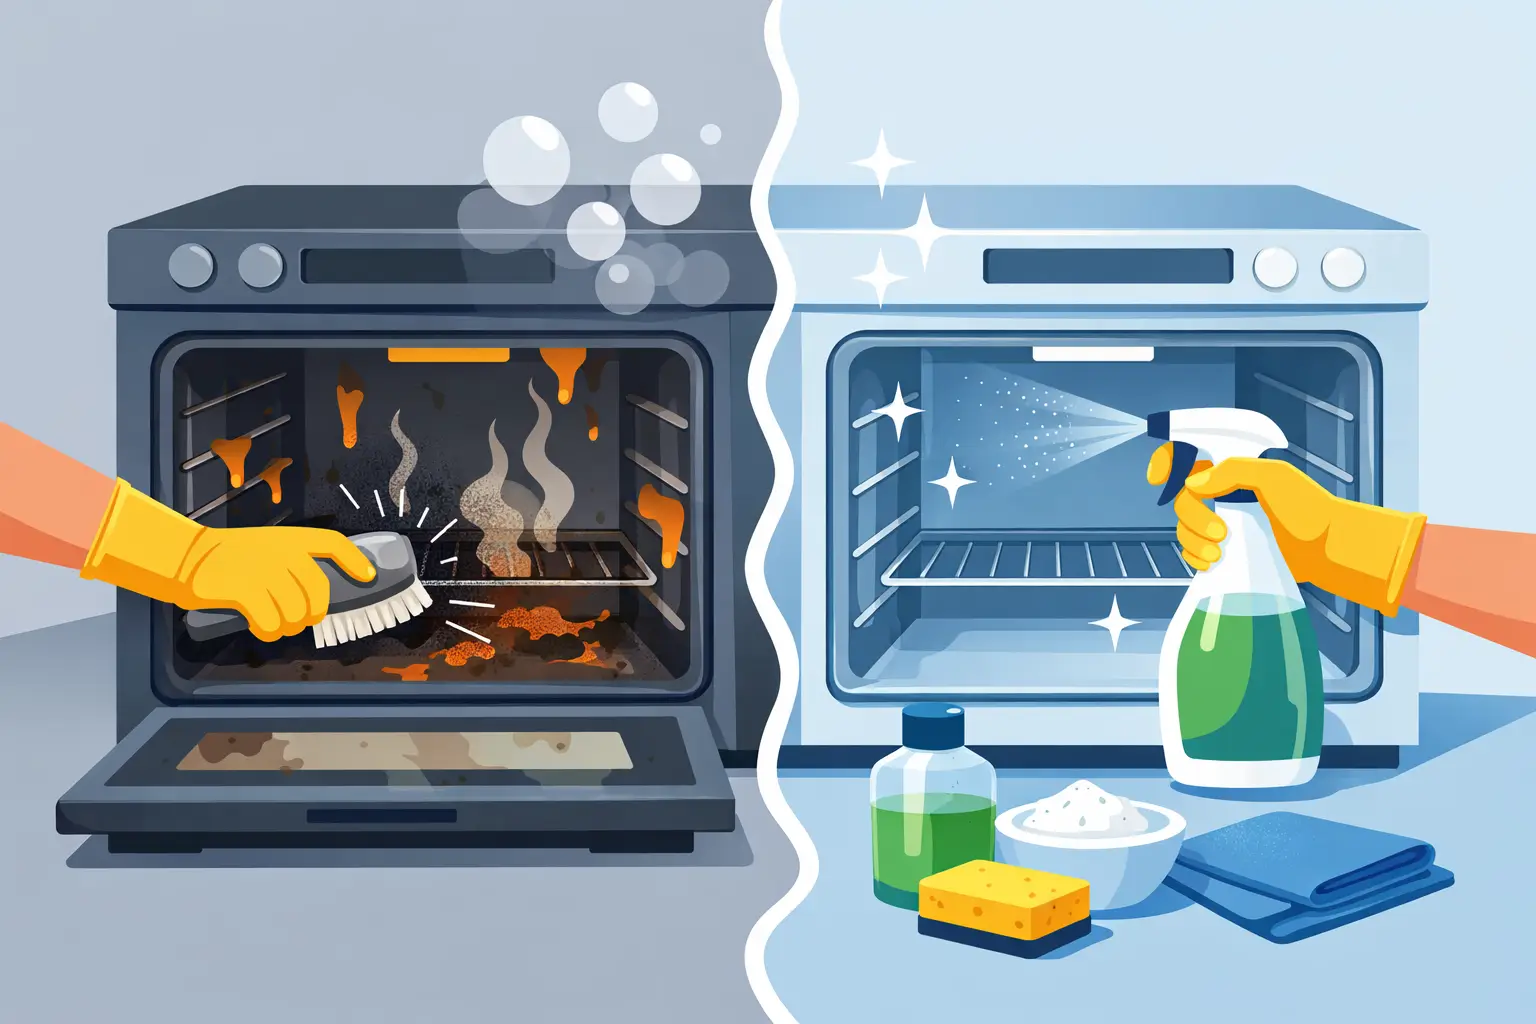
A greasy oven does more than make the kitchen look neglected. Each time the oven heats up, old splatters can smoke, smell unpleasant, and bake into a tougher layer. Knowing how to clean oven grease before it becomes carbonized saves time, protects the oven finish, and helps keep your kitchen clean and fresh.
The best method depends on the amount of buildup. A few recent splatters usually respond well to warm water and dish soap. Thick, sticky grease around the door, racks, and oven floor needs more contact time and a gentler approach than aggressive scrubbing. Start with the least harsh method that can do the job, then move up only when needed.
Prepare the Oven Before Cleaning
Always begin with a completely cool oven. Switch it off, remove any food, and take out the racks, trays, and thermometer if you use one. Place old towels or a washable mat on the floor beneath the oven door to catch drips.
Check your appliance manual before using the self-cleaning setting or any commercial oven product. Some manufacturers advise against certain cleaners, especially on self-cleaning or steam-cleaning models. Avoid spraying cleaner directly onto heating elements, fan openings, seals, or electronic controls.
For everyday grease, you will need a bowl of warm water, dish soap, a soft sponge or microfiber cloth, a non-scratch scrub pad, and a dry towel. Baking soda is useful for baked-on residue. A plastic scraper can help lift softened grease without damaging the surface.
How to Clean Oven Grease From the Interior
Start by wiping out loose crumbs and dry debris. This small step matters because crumbs mixed with cleaning paste can scratch enamel when rubbed around.
Make a thick paste with baking soda and a small amount of water. It should spread easily but not run down the oven walls. Apply it to greasy areas on the floor, sides, back wall, and inside of the door. Keep it away from heating elements, vents, and areas your manual identifies as off-limits.
Let the paste sit for at least 30 minutes. For older grease, leave it for several hours or overnight. The waiting time does much of the work, loosening oily residue so you do not need to scrub hard.
Wipe the paste away with a damp cloth. Rinse and wring out the cloth often, because spreading greasy water around the oven simply moves the problem. For stubborn patches, use a plastic scraper at a low angle, then repeat the paste treatment rather than reaching for steel wool or a sharp blade.
Finish with warm water and a little dish soap on a clean cloth. Wipe all surfaces until no powdery residue remains, then dry with a fresh towel. Leave the oven door open for a short time so the interior can air out fully.
When a Degreaser Makes Sense
A commercial oven cleaner can be effective for heavy, baked-on grease, particularly after roasting, frying, or repeated spills. The trade-off is that these products can have strong fumes and may not be suitable for every oven surface. Use them only in a well-ventilated kitchen, wear gloves, and follow the label exactly.
Do not mix cleaning products. Baking soda, vinegar, ammonia, bleach, and commercial cleaners all have different uses, but combining them can create irritating fumes or reduce their effectiveness. One product at a time, followed by a thorough rinse, is the safer choice.
Clean Greasy Oven Racks Separately
Oven racks collect grease in the corners and along the narrow bars, where a quick wipe rarely reaches. Cleaning them outside the oven makes the entire process easier.
If your sink is large enough, soak the racks in very warm water with dish soap for 30 to 60 minutes. A bathtub also works well when protected with an old towel to prevent scratches. After soaking, scrub with a non-scratch pad or a soft brush, paying attention to the joints and edges.
For thick buildup, cover the racks with a baking soda paste and allow it to sit before scrubbing. Rinse thoroughly and dry them completely before returning them to the oven. Moisture left on metal racks can create rust spots over time.
Avoid using abrasive wire brushes unless the rack manufacturer specifically allows them. They can remove coatings, leave scratch marks, and make future grease stick more easily.
Remove Grease From the Oven Door Glass
The oven door is often where grease becomes most visible. Grease can settle between the glass panels too, but begin with the inside surface first.
Apply baking soda paste to the glass and leave it for 20 to 30 minutes. Wipe with a damp microfiber cloth, then buff dry. If you need more cleaning power, use a non-scratch pad with light pressure. Do not use a metal scraper on oven glass unless your appliance manufacturer specifically says it is safe.
Grease between glass panels is a different job. On many oven models, it requires removing the door or access panel. Because doors are heavy and hinges can be difficult to reinstall safely, this is often better handled by an appliance technician or an experienced cleaning professional. Do not force tools into the door vents, as this can damage seals or scratch the glass.
Handle Burned Grease on the Oven Floor
Burned grease is not the same as fresh grease. It has been heated repeatedly and can form a dark, hard layer that resists normal wiping. The answer is usually patience, not more force.
Apply baking soda paste, cover the area with a damp cloth or paper towel to keep it from drying out too quickly, and let it work for several hours. Lift softened residue with a plastic scraper and wipe clean. You may need two treatments for a heavily used oven.
If a spill is fresh and the oven has cooled, clean it as soon as possible. Grease that stays on the oven floor through several cooking cycles becomes much harder to remove. Avoid lining the oven floor with foil unless the appliance manual permits it. Foil can block heat flow, trap grease, and damage some oven finishes.
Keep Oven Grease From Building Up Again
A simple maintenance routine is far easier than a major kitchen restoration. Wipe visible splatters after the oven has cooled, especially after cooking fatty foods or roasting at high temperatures. Use a roasting pan with high sides for foods that release a lot of oil, and place a suitable baking sheet beneath dishes that may bubble over.
For most homes, wiping the oven door and interior every few weeks is enough to prevent serious buildup. Busy households that cook daily may benefit from a monthly deeper clean. It depends on what you cook, how often you use the oven, and whether spills are cleaned promptly.
Watch for smoke during preheating, lingering odors, sticky rack movement, or a brown film on the door glass. These are practical signs that grease has moved beyond a quick wipe-down.
When to Call for Professional Deep Cleaning
Sometimes the oven has reached the point where cleaning it yourself is more frustrating than useful. Heavy carbon deposits, grease that has hardened around fan vents, residue inside door panels, and years of neglected buildup can require commercial-grade products, specialized tools, and careful surface protection.
Professional deep cleaning is also a practical choice before moving out, preparing a rental property for new tenants, hosting a major event, or resetting a kitchen after renovation work. A trained crew can handle demanding kitchen grime while you focus on the rest of the property. Deepclean Services provides detailed cleaning support for homes and workplaces where time, hygiene, and visible results matter.
A clean oven does not need to be perfect after every meal. Wipe the fresh spill, deal with the sticky layer before it hardens, and give yourself permission to bring in help when the job has grown beyond an afternoon of scrubbing.


Pingback: Rental Property Cleaning Guide for Move-Out Day – Deepclean Services
Pingback: 10 Best Cleaning Tasks Before Moving Out – Deepclean Services