A final walkthrough can come down to details that are easy to miss: grease on the range hood, dust behind a radiator, fingerprints on a light switch, or hair caught in a shower drain. This rental property cleaning guide helps renters, landlords, and property managers prepare a home for inspection, a new move-in, or a faster handover without wasting effort on the wrong jobs.
The goal is not to make an older property look brand new. Normal wear is different from dirt, stains, and buildup. The practical target is a clean, fresh, hygienic space where the next person can clearly see that it has been cared for.
Rental Property Cleaning Guide: Start With the Right Plan
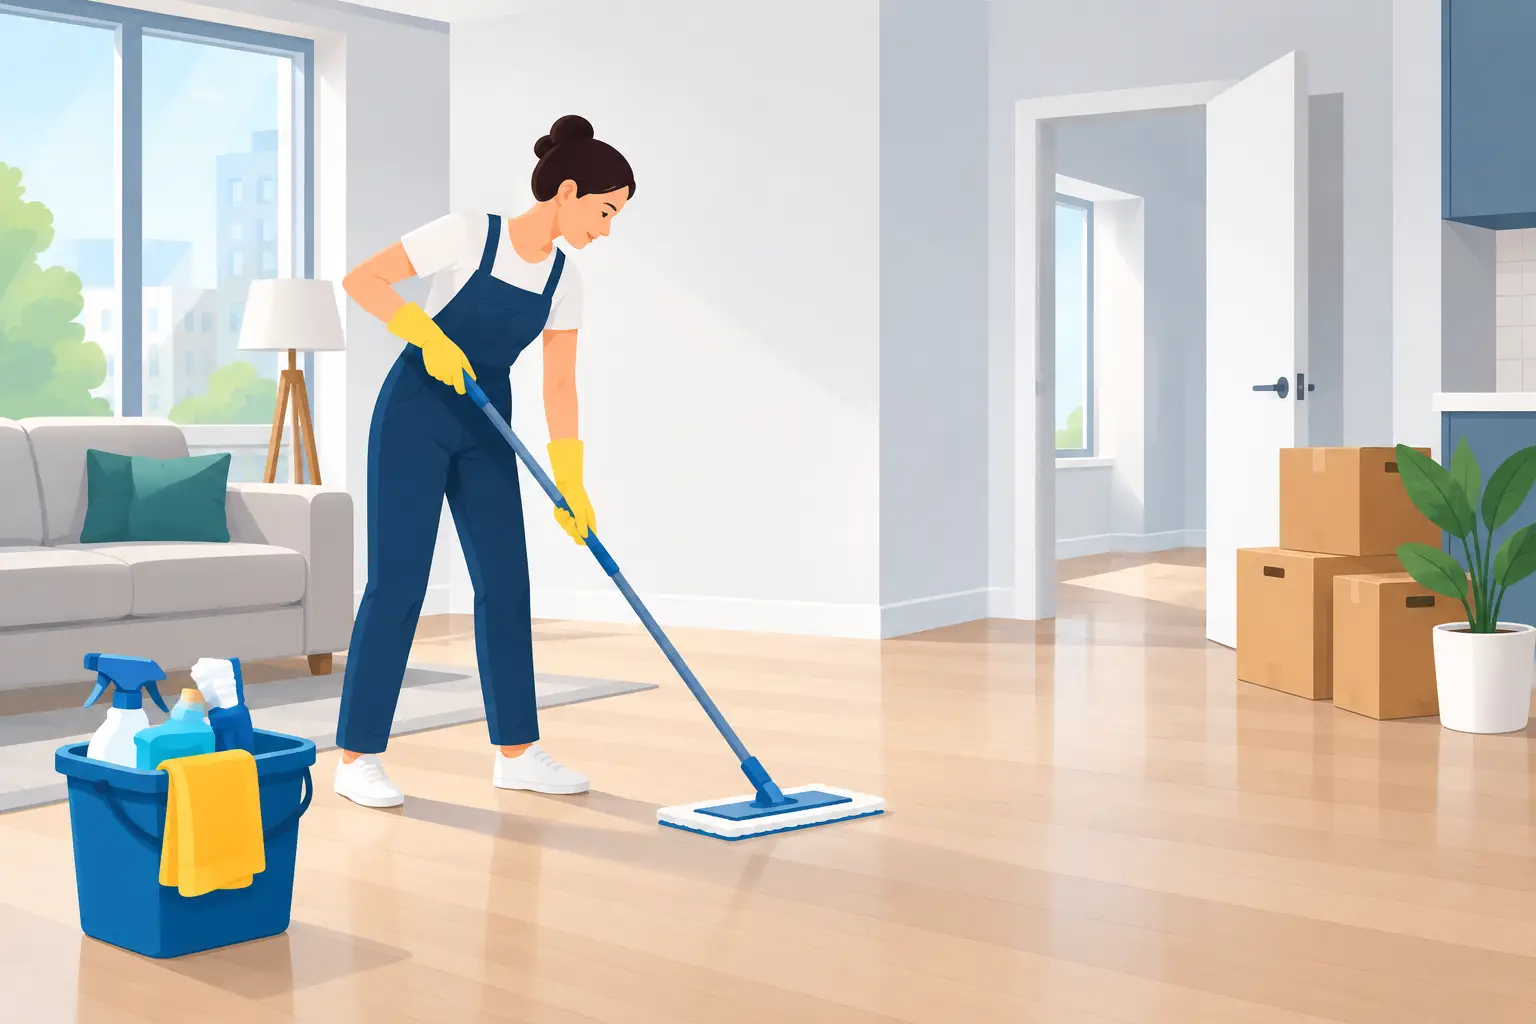
Cleaning an empty rental is usually faster and more thorough than cleaning around furniture and moving boxes. If possible, schedule cleaning after everything has been removed and before keys are returned. That gives you access to baseboards, closets, floors, and walls without having to move belongings twice.
Before getting started, take clear photos of every room. Photograph existing scuffs, chipped paint, damaged flooring, or fixtures that were already worn. This is useful for renters documenting the condition of the home, and for landlords establishing a clear record before a new tenant arrives.
Then work from high to low and from dry tasks to wet tasks. Dust ceiling corners, vents, shelves, and light fixtures first. Clean counters and cabinets next. Save vacuuming and mopping for the end, when debris from the rest of the work has settled on the floor.
A basic kit should include microfiber cloths, a vacuum with attachments, a mop, a non-abrasive scrub pad, glass cleaner, a degreaser, bathroom cleaner, and gloves. Check surface instructions before using strong products. Natural stone, unfinished wood, delicate metal finishes, and some painted surfaces can be damaged by acidic or abrasive cleaners.
Focus First on the Areas That Affect Inspections
Not every room needs the same amount of work. Kitchens and bathrooms collect the most buildup and usually receive the closest attention during a move-out inspection. Start there while you have the most energy and time.
Make the Kitchen Look Clean, Not Just Wiped Down
Kitchen cleaning is often where a rental handover succeeds or falls short. A quick wipe of visible countertops will not remove the grease, crumbs, and food residue that collect inside appliances and cabinets.
Empty every cabinet and drawer, then vacuum out crumbs before wiping the interiors. Clean cabinet fronts, handles, hinges, and the narrow ledges around doors. Pay special attention to the area around the trash bin, beneath the sink, and the wall behind small appliances. These spots often hold sticky residue that is not obvious until the room is empty.
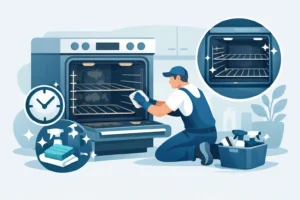
The oven needs more than a surface clean. Remove racks if the manufacturer allows it, clean spills and baked-on grease, and wipe the inside of the door. Degrease the cooktop, burner grates, control knobs, backsplash, and range hood filter. If an appliance has heavy carbon buildup or a filter that cannot be restored, professional help may be worth the cost.
Finish the kitchen by cleaning the refrigerator inside and out. Remove all food, wipe shelves and drawers, clean door seals, and leave the door slightly open if the home will remain vacant. A closed, unplugged refrigerator can develop unpleasant odors quickly.
Restore the Bathroom With Detail Work
Bathrooms can look clean at first glance while still holding soap scum, limescale, mildew, and hair in hard-to-reach places. Begin by removing personal products, emptying bins, and ventilating the room.
Apply cleaner to the shower, tub, toilet, sink, and tile, then allow it to sit for the recommended time. While it works, dust vents, wipe mirrors, and clean cabinet interiors. Return to scrub the fixtures, grout lines, shower screen, faucet base, and drain area.
Limescale is common around faucets and showerheads, especially in areas with hard water. Use a product suited to the fixture finish and avoid harsh scrubbing on chrome or coated surfaces. If you see recurring dark patches around silicone, corners, or ceiling edges, treat them carefully. Surface mildew may clean up easily, but persistent mold, damaged sealant, or moisture stains can point to a ventilation or leak problem that needs to be reported rather than covered up.
Clean Living Areas From the Top Down
In bedrooms, hallways, and living rooms, start with cobwebs, ceiling fans, light shades, vents, and curtain rails. Wipe doors, frames, switch plates, outlet covers, window sills, and baseboards. These small surfaces make a strong difference because they show whether a property has received a complete clean.
For walls, use a lightly damp cloth and gentle cleaner only where needed. Scrubbing painted walls too aggressively can leave shiny patches or remove paint. Small marks may lift with careful spot cleaning, but deep scuffs, nail holes, and damaged paint are maintenance issues that may require touch-up work rather than cleaning.
Vacuum carpets slowly, including closet floors and edges along the walls. If there are stains, identify the material before treating them. Rubbing a stain can push it deeper into carpet fibers, and the wrong cleaner can leave a visible ring. Steam or extraction cleaning is useful for embedded dirt, pet odor, and heavily used pathways, but it needs enough drying time before an inspection or new move-in.
Do Not Skip Windows, Balconies, and Storage Spaces
The spaces outside the main rooms are often forgotten until the final hour. That is a mistake, particularly when they are visible during a property walkthrough.
Clean the inside of windows, frames, tracks, and sills. Vacuum loose dirt from tracks before wiping them, or you will create muddy residue. Check blinds for dust and clean both sides where possible. Exterior window cleaning depends on access and safety. Never lean out of upper-story windows or attempt difficult exterior glass without proper equipment.
For a balcony or patio, remove leaves, empty planters, sweep corners, and clean any visible spills or marks. Make sure drainage points are clear, but do not force debris into drains. Storage rooms, utility closets, and parking-related spaces should also be emptied, swept, and checked for personal items.
When a Professional Cleaning Service Makes Sense
A careful DIY clean can work well for a small, well-maintained rental with enough time before handover. It becomes harder when the property is large, the move is rushed, or there are carpets, upholstery, mold concerns, greasy appliances, or difficult balcony and window areas.
Professional move-out cleaning is especially useful when several jobs need to happen at once. A trained crew can handle detail work with commercial-grade equipment while you focus on packing, paperwork, utility transfers, and the move itself. It also helps landlords turn a property around faster between tenants, with a consistent standard across kitchens, bathrooms, floors, and high-touch areas.
The trade-off is cost, so be clear about what is included before booking. Ask whether appliances, interior cabinets, carpet treatment, windows, balconies, and mold-related work are part of the service or priced separately. A clear scope prevents surprises and makes it easier to compare quotes fairly.
A Final Check Before You Hand Over the Keys
Walk through the property once more with the lights on and your phone flashlight ready. Look at surfaces from an angle, because grease, streaks, and dust are easier to spot that way. Open drawers, inspect behind doors, check the refrigerator, and make sure no trash, cleaning supplies, or personal belongings remain.
Test that sinks, toilets, and appliances are free of obvious residue, then take final photos of each room. For renters, this supports a fair discussion about the security deposit. For landlords, it creates a clean baseline for the next tenancy.
A well-cleaned rental feels ready rather than merely empty. Give the last details the attention they deserve, and the handover becomes simpler, more professional, and far more reassuring for everyone involved.