
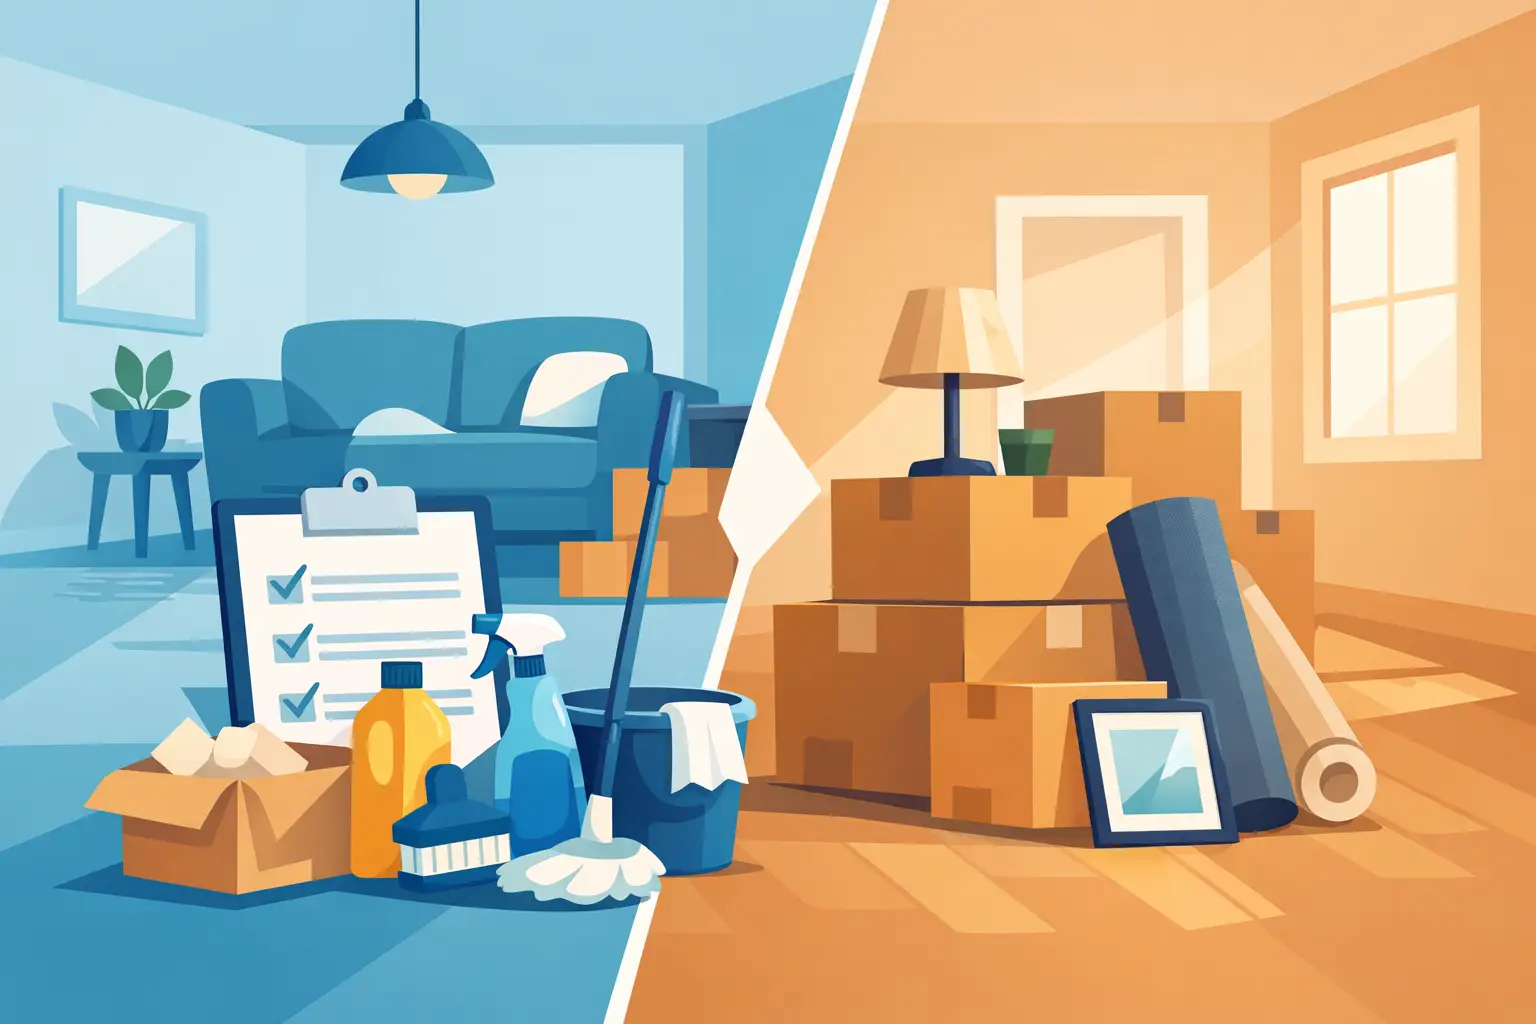
A move can turn a normally tidy home into a place where every missed cabinet corner and dusty baseboard suddenly matters. This move in and move out cleaning checklist helps you work room by room, protect your deposit or property condition, and start the next chapter in a clean, fresh space.
The two cleanings share many tasks, but their purpose is different. Move-out cleaning is about returning a property in good condition and showing that it has been cared for. Move-in cleaning is about making a home feel healthy and comfortable before boxes, furniture, and daily life fill every room. If time is short, focus first on the areas that show dirt fastest: kitchens, bathrooms, floors, windows, and high-touch surfaces.
Prepare Before You Start
Cleaning goes faster when the home is as empty as possible. For a move-out, remove all personal belongings, trash, food, and items stored in closets, on balconies, and in garages or storage areas. Open cabinets and drawers as you go. It is much easier to see crumbs, stains, and forgotten belongings in an empty room.
For a move-in, ask for access before delivery day if possible. Cleaning an empty home means you can reach behind appliances, inside closets, and along floor edges without moving heavy furniture twice. Take clear photos of existing damage, stains, chipped paint, or worn flooring before you begin. Cleaning should improve the condition of a space, not make you responsible for marks that were already there.
Gather the right supplies for the surfaces in the home. A vacuum with attachments, microfiber cloths, mop, bucket, glass cleaner, degreaser, bathroom cleaner, disinfectant, scrub brush, gloves, and trash bags will cover most needs. Use products as directed and do not mix cleaning chemicals. A stronger product is not always the better choice, especially on natural stone, wood, delicate fixtures, or specialty flooring.
Move In and Move Out Cleaning Checklist: Every Room
Start high and finish low. Dust ceiling vents, light fixtures, shelves, and walls first, then clean counters and furniture surfaces, and leave vacuuming and mopping until the end. This prevents dust and debris from landing on a floor you have already cleaned.
Entryways, hallways, and living areas
These spaces set the first impression, but they also collect scuffs, dust, pet hair, and grime around doors. Wipe door handles, switches, trim, and baseboards. Remove cobwebs from corners and dust vents, blinds, curtain rails, and light fixtures. Clean interior windows and window tracks, then vacuum upholstered furniture if it is staying in the home.
Inspect walls closely in bright light. Light marks may lift with a gentle cleaner and soft cloth, while paint damage or deep stains may need approval from the landlord or property manager before repair. Avoid aggressive scrubbing that can leave shiny patches on painted walls.
Finish by vacuuming carpets slowly, including edges and closets. Hard floors should be vacuumed or swept first, then mopped with a product suitable for the material. If carpets have embedded dirt, odors, or visible staining, standard vacuuming may not be enough. Professional carpet cleaning can make a noticeable difference, particularly before a handover or when moving into a home with older flooring.
Kitchen
The kitchen usually takes the longest because grease and food residue build up in places that are easy to overlook. Empty every cabinet and drawer, vacuum loose crumbs, and wipe inside and outside surfaces. Pay close attention to handles, hinges, drawer tracks, backsplash grout, and the area around the trash bin.
Clean countertops, sink, faucet, and backsplash using products safe for the surface. Remove limescale around the faucet where needed. Degrease the range hood, cooktop, oven exterior, and the wall behind the stove. For the oven, remove racks and clean according to the manufacturer’s guidance. Do not forget the inside of the microwave, refrigerator shelves and drawers, dishwasher filter, and the narrow floor spaces beside or beneath movable appliances.
Before moving out, leave the refrigerator empty, wiped dry, and free of food odors. Before moving in, consider cleaning the refrigerator and oven even if they look acceptable at first glance. These are the appliances most likely to have hidden crumbs, grease, and residue.
Bathrooms
Bathrooms need detailed cleaning because moisture leaves behind soap scum, limescale, hair, and mold risk. Clean the toilet inside and out, including the base, hinges, flush button, and surrounding floor. Scrub the sink, faucet, mirror, countertop, tub, shower walls, shower door or curtain, and drain area.
Look carefully at grout, caulk, corners, and the area around ventilation. Small dark spots can be a sign that moisture has been sitting too long. Surface mildew may respond to appropriate cleaning, but recurring or widespread mold needs more than a quick wipe. Report the issue or arrange specialist treatment rather than covering it up, especially when the cause may be a leak or poor ventilation.
Wipe cabinets inside and out, remove hair from drains where it is safe to do so, and clean behind the toilet. Replace the trash liner before move-in day. A fresh bathroom should look dry, smell neutral, and have no sticky residue on fixtures or floors.
Bedrooms, closets, and utility spaces
Bedrooms are straightforward until you inspect closets and floor edges. Dust shelves, wipe closet rods, clean drawers, and vacuum every corner. Check window sills, blinds, vents, switches, and baseboards. If the property includes built-in wardrobes, open every compartment. Forgotten dust and debris can make an otherwise clean room feel unfinished.
In laundry areas, wipe the washer and dryer exterior, clean detergent trays where accessible, and remove lint around the dryer. Empty filters only if they are designed for routine access. For utility rooms, garages, and storage spaces, remove all personal items and sweep thoroughly. These areas are commonly missed during a rushed move-out inspection.
Balconies, patios, and exterior touches
Outdoor spaces deserve attention because leaves, dust, bird droppings, and standing water can build up quickly. Remove furniture and loose debris, sweep the surface, and clear drains carefully. Clean railing surfaces and exterior-facing glass where accessible and safe.
Do not use excessive water on a balcony if drainage is limited or runoff could affect neighboring properties. For stubborn outdoor dirt, the right equipment and method matter more than force. A professional team can help with difficult balcony surfaces, windows, and areas that are unsafe to reach.
Check What Your Agreement Requires
There is no single move-out standard for every rental, sale, or managed property. Some leases require carpet cleaning, appliance cleaning, key return procedures, or specific condition reports. Others expect only that the home is returned in the same level of cleanliness it had at move-in, allowing for ordinary wear.
Read the agreement before you clean, not after. If a landlord, buyer, or property manager provides an inspection list, use it alongside your own. Save receipts for any specialist work and take timestamped photos after cleaning. Photograph the oven, refrigerator, bathrooms, floors, closets, windows, and any existing damage. This simple record can prevent confusion later.
Know When to Bring in Professional Help
A full clean is demanding when you are also packing, changing addresses, arranging utilities, and meeting a handover deadline. Professional move cleaning is especially useful when the property is large, the move is urgent, carpets or upholstery need deeper treatment, or the kitchen and bathrooms have heavy buildup.
Deepclean Services can handle move-in and move-out work as a complete service, with trained crews, commercial-grade equipment, and flexible scheduling for homes and workplaces. It is a practical option when you want the cleaning handled properly while you focus on the move itself.
The trade-off is simple: doing it yourself may reduce the immediate cost, but it takes time, energy, supplies, and careful attention to detail. Booking help gives you more time for the move and a consistent standard in the rooms that are most closely inspected.
Do a Final Walk-Through
Walk through the property with all lights on and no cleaning supplies in hand. This is when you notice a greasy cabinet handle, dust on a vent, streaks on a mirror, or a forgotten item in a drawer. Open and close cabinets, run your hand along countertops, check behind doors, and look at floors from different angles.
For move-out, remove the final trash bag, collect keys and remotes, and take your final photos before leaving. For move-in, let cleaned surfaces dry fully before placing boxes and furniture. Starting with a genuinely clean home makes unpacking feel less like another chore and more like arriving where you belong.


Pingback: What Does a One Time House Cleaning Cost? – Deepclean Services
Pingback: What a Deep Kitchen Cleaning Service Covers – Deepclean Services
Pingback: Bathroom Tile Grout Cleaning That Gets Results – Deepclean Services
Pingback: When to Book a Professional Oven Cleaning Service – Deepclean Services
Pingback: What a Refrigerator Cleaning Service Should Include – Deepclean Services
Pingback: Furniture Cleaning With Protective Coating – Deepclean Services
Pingback: Balcony Cleaning Service for a Fresh Outdoor Space – Deepclean Services
Pingback: Residential Window Cleaning Service That Saves Time – Deepclean Services
Pingback: Can Cleaners Work Weekends? What to Expect – Deepclean Services
Pingback: Professional Versus DIY Cleaning: What Pays Off? – Deepclean Services
Pingback: One-Time Versus Recurring Cleaning: Which Fits? – Deepclean Services