
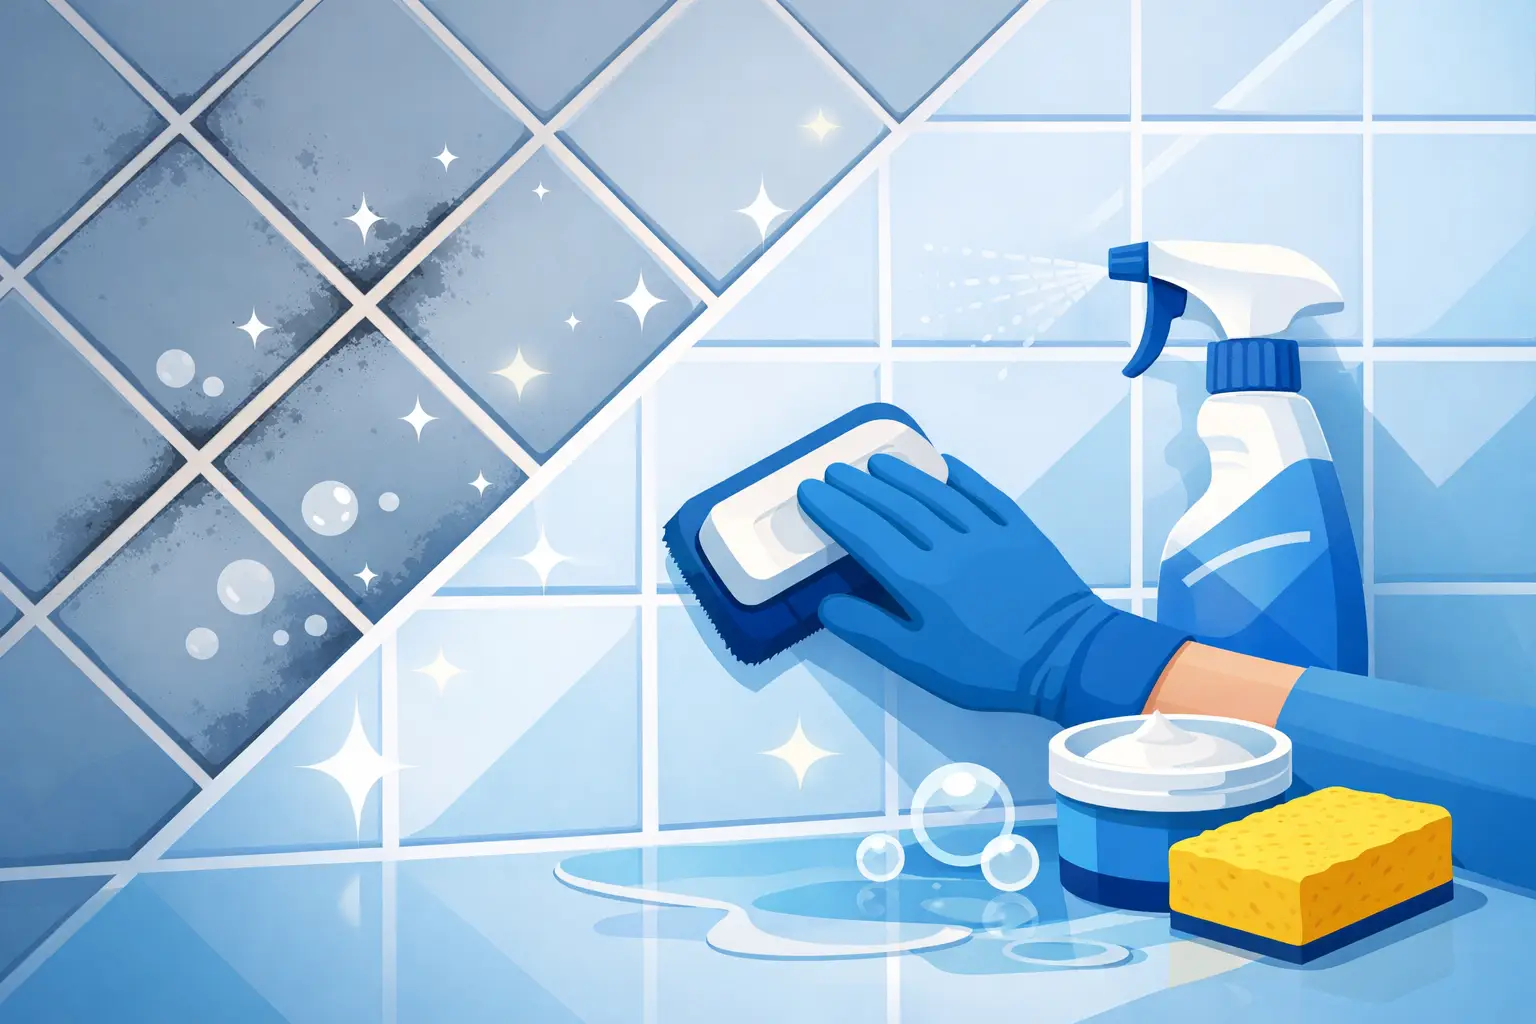
A bathroom can look freshly cleaned until you notice the dark lines around the shower floor, sink backsplash, or tub. Grout holds onto soap residue, body oils, hard-water minerals, and moisture more easily than smooth tile. Effective bathroom tile grout cleaning focuses on removing that buildup without damaging the grout, tile finish, or surrounding caulk.
The right approach depends on what is making the grout look dirty. A light gray film needs a different treatment than orange mineral stains, black mildew spots, or grout that has become permanently discolored over years of use. Starting with the cause saves time and helps you get a cleaner, fresher result.
Why Bathroom Grout Gets Dirty So Fast
Grout is naturally porous, especially when it has not been sealed or the sealant has worn away. Every shower sends warm, humid air into the room, while shampoo, soap, and cleaning-product residue settle into the grout lines. Water that is high in minerals can leave a chalky white or orange deposit, particularly near faucets and shower doors.
Dark grout does not always mean mold. Sometimes it is trapped dirt or moisture staining. Mildew often appears as scattered black, green, or gray spots in corners, along shower walls, and around silicone caulk. If the marks return quickly after cleaning, poor ventilation or a hidden moisture problem may be part of the issue.
A quick wipe of tile surfaces is useful, but grout needs more direct attention. Leaving it untreated allows stains to set deeper and can make a bathroom feel less clean even after the rest of the room has been scrubbed.
Bathroom Tile Grout Cleaning: A Safe Step-by-Step Method
Before using any cleaner, open a window or run the exhaust fan. Wear gloves, and avoid mixing products. In particular, never combine bleach with vinegar, ammonia, or other bathroom cleaners. Those combinations can create dangerous fumes.
Start by rinsing the tiled area with warm water. This loosens surface grime and lets you see where the staining is concentrated. Apply a grout-safe bathroom cleaner or a paste made from baking soda and a small amount of water. Let it sit for several minutes, following the product instructions if you are using a commercial cleaner.
Use a stiff nylon grout brush and work in small sections. A narrow brush gives you more control than a large floor brush and helps keep the cleaning solution where it belongs. Scrub with firm, even pressure rather than trying to force results with excessive pressure. Aggressive scraping, metal brushes, and abrasive pads can wear away grout or scratch glazed tile.
Rinse thoroughly with clean water, then dry the surface with a microfiber cloth or towel. Drying is not an optional final touch. It removes loosened residue and prevents water from sitting in freshly cleaned grout lines.
For shower floors, work from the back corner toward the door or drain so you are not standing on areas you have already treated. On wall tile, clean from the bottom upward to reduce streaking, then rinse from the top downward.
Choosing the Right Cleaner for the Stain
For everyday soap scum and dull-looking grout, a pH-neutral bathroom cleaner is usually the safest choice. It is effective for regular maintenance and less likely to damage tile, grout, or nearby fixtures.
For hard-water deposits, use a product designed for mineral buildup that is approved for your tile type. Acidic cleaners can be useful on ceramic or porcelain in the right circumstances, but they are not suitable for every surface. Natural stone such as marble, limestone, travertine, and some slate can etch or lose its finish when exposed to acidic products, including vinegar.
For mildew staining, use a mold and mildew cleaner suitable for bathrooms, and give it enough contact time to work. Ventilate the room well. If mildew covers a large area, keeps returning, or is connected to damp walls, damaged caulk, or a leak, surface cleaning alone will not solve the problem.
Bleach can brighten some white grout, but it should be used carefully and sparingly. Repeated use may weaken grout over time, and bleach does not remove every type of embedded soil. It can also discolor colored grout. Test any stronger cleaner in a hidden spot first.
When DIY Cleaning Is Not Enough
Some grout problems need more than a brush and a store-bought cleaner. Deep staining, heavy soap buildup, and mildew that has settled into porous grout can require professional-grade equipment and targeted cleaning methods. This is especially common in bathrooms that have had years of daily use, rental turnover, or limited ventilation.
A professional service is also a practical choice before a move-out inspection, after buying a home, or when preparing a rental property for new tenants. Bathrooms often make a strong impression during viewings, and clean grout can make tile look newer without the cost of replacement.
Call for help when you see crumbling grout, loose tiles, persistent musty odors, or stains that return within days. Those signs can point to a moisture issue behind the tile or around the shower enclosure. Cleaning can improve the appearance, but repairs may be needed to prevent further damage.
Deepclean Services handles detailed bathroom cleaning as part of intensive deep-cleaning and specialized mold-removal work. Trained crews can assess the condition of grout, tile, caulk, and surrounding surfaces, then use the right equipment and products for a visible result without taking unnecessary risks with delicate finishes.
Keep Grout Cleaner Between Deep Cleans
The easiest grout to clean is grout that does not stay wet and coated in residue. After showers, use the exhaust fan for at least 20 minutes or open a window where practical. A squeegee on shower walls takes less than a minute and reduces the moisture and soap film that feed mildew growth.
Wipe splashes from the sink area before they dry, especially if your water leaves mineral spots. Once a week, clean shower tile and grout with a mild product rather than waiting for the lines to become visibly dark. Regular cleaning is gentler on grout than periodic heavy scrubbing.
Consider sealing cement-based grout after it has been thoroughly cleaned and fully dried. A quality grout sealer helps slow down moisture and stain absorption, but it is not a permanent shield. How often it needs to be renewed depends on the type of grout, the product used, and how heavily the bathroom is used. Epoxy grout is less porous and may not need sealing, so check the manufacturer guidance before applying anything.
Pay attention to caulk as well as grout. Caulk creates a flexible seal where tile meets the tub, shower pan, walls, or fixtures. If it is cracked, peeling, or moldy beneath the surface, it may need to be removed and replaced rather than cleaned again and again.
Common Mistakes That Make Grout Look Worse
The most common mistake is using the strongest product available before identifying the tile and stain. A harsh chemical may remove a mark quickly but leave natural stone dull, weaken grout, or create fumes in a small bathroom. More product is not always better.
Another mistake is skipping the rinse. Cleaner left on grout can attract more dirt, create a sticky film, or affect the finish over time. Thorough rinsing and drying are part of the job, not extra steps.
Finally, do not judge the result while grout is wet. Wet grout often looks darker than it will when dry. Allow the area to dry completely before deciding whether another treatment is needed. If the color remains uneven after careful cleaning, the grout may be stained beyond what surface cleaning can correct. Grout colorant or replacement may be the more reliable option.
Clean grout is a small detail with a big effect on how a bathroom feels. A steady maintenance routine keeps the work manageable, while timely professional help can restore heavily used tile before stains and moisture problems become harder to handle.


Pingback: Hospital Sanitation Cleaning Services That Work – Deepclean Services
Pingback: When a Recurring House Cleaning Service Helps – Deepclean Services
Pingback: How to Clean Tile Grout Without Damaging It – Deepclean Services
Pingback: Deep Cleaning Versus Regular Cleaning Explained – Deepclean Services
Pingback: Can Mould Return After Cleaning? Stop It for Good – Deepclean Services
Pingback: How to Sanitize Bathroom Surfaces Safely – Deepclean Services