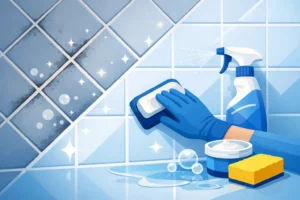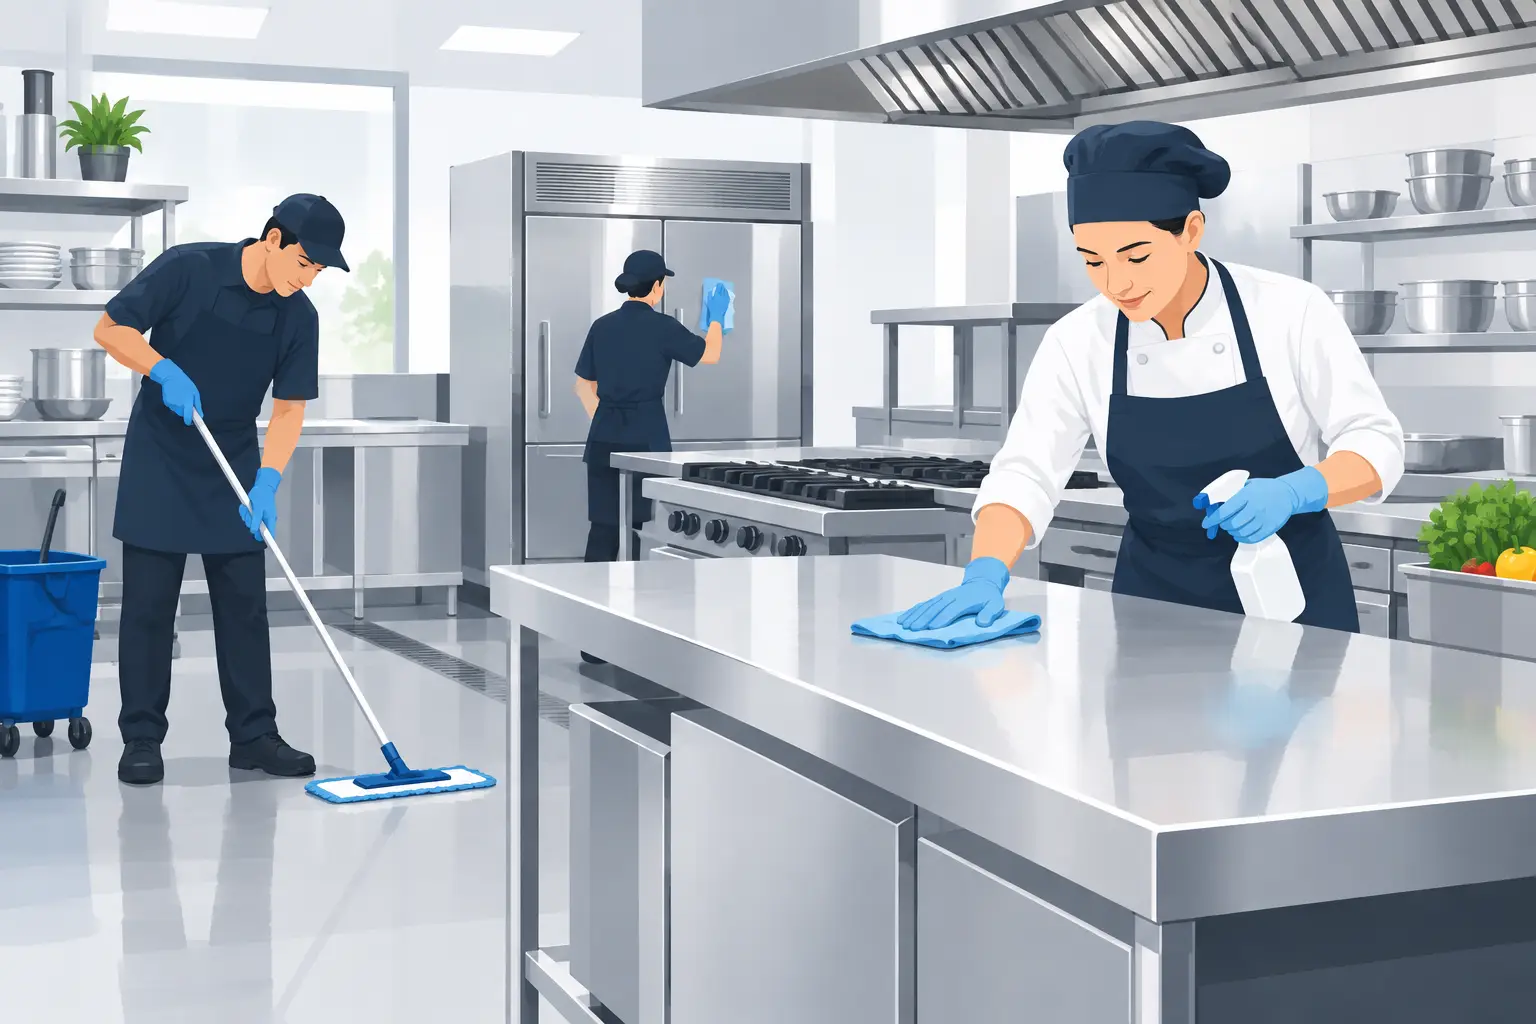
The lunch rush leaves clues everywhere: grease around fryer handles, crumbs beneath prep tables, fingerprints on cooler doors, and spills that can become slip hazards before the next ticket prints. A practical commercial kitchen cleaning guide gives your team a clear way to reset the space, protect food safety, and keep the kitchen ready for service without adding confusion to a busy shift.
Cleaning a commercial kitchen is not one big task saved for closing time. It is a set of routines completed at the right moment: before prep begins, between tasks, after service, and during scheduled deep cleaning. The right schedule depends on your menu, volume, equipment, staffing, and local health requirements. A small café and a high-volume restaurant do not face the same buildup, but both need visible standards and consistent follow-through.
Start With the Difference Between Cleaning and Sanitizing
Cleaning removes food residue, grease, dirt, and grime from a surface. Sanitizing reduces harmful microorganisms to a safer level after the surface has been cleaned. One does not replace the other.
If a prep counter is covered in dried sauce or grease, sanitizer alone cannot do its job properly. Wash away the soil first with the right cleaner and clean cloth or scrubber, rinse if the product instructions require it, then apply an approved sanitizer at the correct concentration and contact time. Let the surface air-dry unless the product label says otherwise.
This order matters most on food-contact surfaces, including cutting boards, prep counters, slicers, utensils, mixer attachments, and the interiors of equipment that touches food. Follow the chemical manufacturer’s directions and your local food-safety rules. More chemical is not automatically better. An overly strong solution can leave residue, damage surfaces, or create an unnecessary safety concern.
Build a Commercial Kitchen Cleaning Guide Around the Shift
A reliable schedule prevents the familiar problem of everyone assuming someone else handled the job. Assign tasks by role or station, not by vague instructions such as “clean the kitchen.” Clear ownership makes standards easier to maintain, especially across early, late, and weekend shifts.
Before Opening: Prepare a Clean Work Area
Opening tasks should make the kitchen safe for the first prep work of the day. Check that handwashing sinks are stocked with soap, paper towels, and hot water. Empty waste from the previous shift if needed, inspect floors for grease or moisture, and wipe and sanitize food-contact surfaces before ingredients come out.
Look closely at equipment handles, refrigerator gaskets, microwave buttons, scale controls, and storage bin lids. These are high-touch points that can look clean while holding grease and fingerprints. A quick, methodical wipe at opening takes less time than trying to restore a neglected kitchen during service.
During Service: Clean as You Go
During a rush, the goal is control, not perfection. Wipe spills immediately, replace contaminated cloths, keep raw and ready-to-eat food areas separate, and take trash out before bags overflow. Floors should be spot-cleaned whenever there is a spill or visible debris, using warning signs where required.
Keep clean and dirty tools apart. A cloth used on a floor, trash area, or greasy equipment exterior should never return to a prep counter. Color-coded cloths and mops can make this easier, but only when the team understands the system and clean replacements are always available.
Dishwashing also needs active attention. Clean and sanitize sink compartments, dish racks, machine filters, and surrounding splash areas as needed. Standing water, food scraps, and blocked drains can quickly create odors and attract pests.
After Closing: Remove What the Day Left Behind
Closing cleaning is where grease and food residue either get handled or become tomorrow’s harder job. Start by putting food away safely, labeling and dating items according to your kitchen procedures, and clearing the work areas. Then work from cleaner areas toward dirtier ones, and from high surfaces down to the floor.
Your closing team should normally address these areas:
- Wash, rinse, and sanitize prep counters, cutting boards, utensils, and food-contact equipment.
- Clean cooktops, grills, fryers, oven exteriors, microwave interiors, and equipment controls after they have cooled safely.
- Empty trash and recycling, clean containers when needed, and keep lids, handles, and surrounding floors free of residue.
- Sweep then mop floors, including beneath movable equipment and along wall edges where crumbs and grease collect.
- Wipe cooler and freezer handles, door edges, shelves with spills, and exterior panels.
Do not rush hot equipment or use water where it can cause steam, splatter, electrical damage, or grease to spread. Let equipment cool according to its operating instructions. For fryers, filters, hoods, and other specialized equipment, use the manufacturer’s recommended process and schedule.
Give Grease the Attention It Demands
Grease is one of the biggest cleaning challenges in any working kitchen. It collects on cooking lines, backsplashes, walls, floor edges, hood surfaces, and behind equipment. Left in place, it creates odors, attracts pests, makes floors slippery, and increases fire risk.
Use a commercial degreaser that is suitable for the surface and the task. Apply it as directed, allow enough dwell time to loosen buildup, then scrub, wipe, and rinse where required. Avoid mixing cleaning products. Combining chemicals can create harmful fumes and damage finishes.
The kitchen exhaust hood and filter system deserve a separate plan. Filters may need frequent cleaning based on cooking volume, while ductwork and hood interiors usually require professional service at intervals set by your operation, insurer, fire-safety requirements, and local rules. A lightly used kitchen may need a different schedule than one producing fried food all day. Keep service records so there is no guesswork later.
Do Not Forget the Areas Customers Never See
A clean line looks good, but the hidden areas often determine whether the kitchen stays hygienic. Pull movable equipment away from walls on a planned basis. Clean behind refrigerators, beneath shelves, around casters, and under prep tables. Check drain covers, floor corners, wall bases, and gaps around plumbing.
Storage rooms need the same care. Keep dry goods off the floor, wipe shelving regularly, remove expired or damaged items, and clean spills immediately. Refrigerators and walk-ins should be checked for leaks, pooling water, spoiled food, and dirty door seals. A damaged gasket wastes energy and gives grime a place to build up.
Restrooms, staff break areas, and waste zones also affect kitchen hygiene. If trash storage is dirty or restroom handwashing supplies run out, the risk does not stay contained in that one area. Good cleaning works as a system.
Use the Right Tools and Store Them Safely
A cleaning product is only useful when it is matched to the surface and used correctly. Keep chemical labels readable, store products away from food and food-contact items, and make safety data available to the team. Dilution systems can help maintain correct concentrations, but staff still need training on what each product is for.
Replace worn scrub pads, cracked squeegees, dirty mop heads, and heavily stained cloths. Equipment that is not cleaned after use simply spreads dirt to the next area. Wash reusable cloths and mop heads properly, dry them fully, and keep clean supplies separate from used ones.
For larger kitchens, commercial-grade equipment can save real labor time. A floor scrubber, high-temperature dishwasher, steam-capable equipment, or professional extraction machine may be worthwhile when the workload justifies it. Smaller operations may be better served by a simple, disciplined routine and scheduled professional deep cleaning for the demanding jobs.
Train, Check, and Adjust the Routine
The best checklist is short enough to use and specific enough to verify. Train new employees by showing the expected result, not just handing them a task list. Explain which surfaces need cleaning, which need sanitizing, which chemical to use, and where tools belong afterward.
Managers should inspect a few key areas every day: food-contact surfaces, floors, drains, handwashing stations, cooler seals, and the cooking line. Regular checks catch small problems before they become expensive restoration work or an unpleasant surprise during an inspection.
If the same area keeps getting missed, change the process. The issue may be an unclear assignment, an unrealistic closing workload, missing supplies, or a schedule that no longer fits the kitchen’s volume. Cleaning plans should support the way your team actually works.
A clean kitchen is easier to run, safer to work in, and more welcoming for everyone who depends on it. Set clear routines, give your staff the right tools, and bring in professional help when grease, floors, equipment, or hard-to-reach buildup needs more than a quick wipe. That steady care keeps your kitchen clean and fresh long after the last plate leaves the pass.